Windows
Installing on Windows
Install the controller (the panel) on Windows 10/11 or Windows Server, x64, then finish the configuration in your browser. NGCP Setup is the recommended way; the controller MSI installs the panel alone.
Before you start
Download NGCP-Setup-X.Y.Z.exe or ngcp-controller-X.Y.Z-x64.msi (all files:
Packages) and check it against SHA256SUMS:
Get-FileHash .\ngcp-controller-X.Y.Z-x64.msi -Algorithm SHA256
The Windows packages are not code-signed yet, so SmartScreen warns when you run them.
With NGCP Setup (recommended)
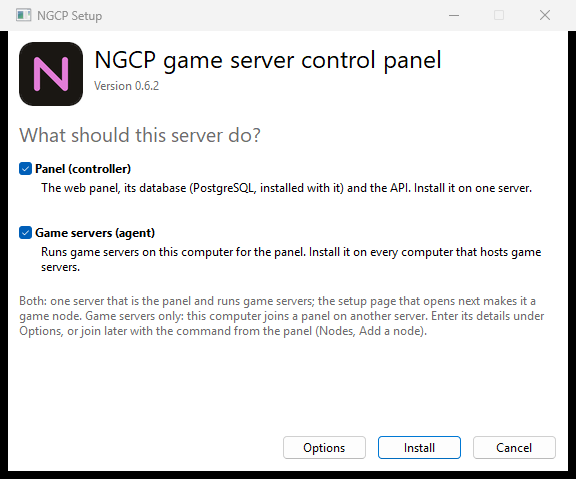
NGCP-Setup-X.Y.Z.exe installs everything a Windows server needs. Run it as an administrator
and choose what this server does:
| Choice | Installs | Next |
|---|---|---|
| Panel and Game servers (both ticked, the default) | Controller with PostgreSQL, and the agent | The setup page opens; leave This server runs game servers too ticked and this server joins as a game node by itself |
| Panel only | Controller with PostgreSQL | The setup page opens; add game servers on other computers later |
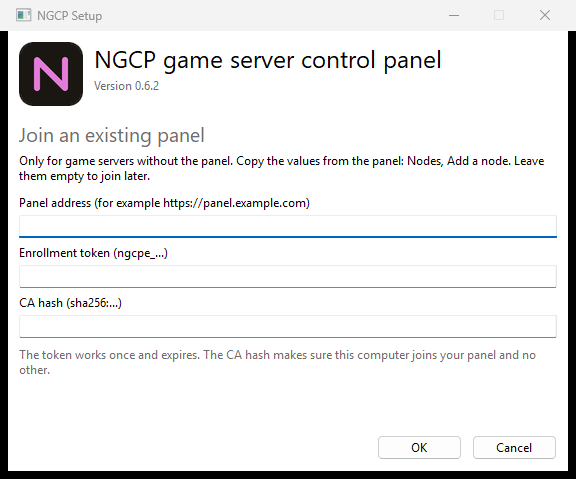
| Game servers only | The agent | Enter the panel’s address, enrollment token and CA hash under Options (from the panel: Nodes, Add a node), or join later |
Joining an existing panel
Only for Game servers without the panel. Open Options and paste the values from the panel (Nodes, Add a node). Leave them empty to join later. See Adding a Windows node.
Installing and finishing
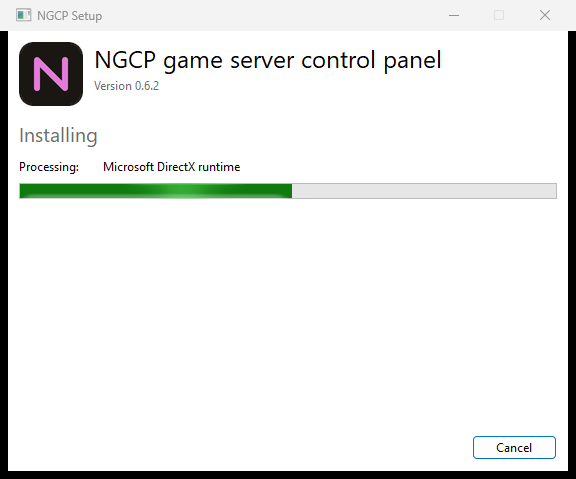
Start the install and let it run:
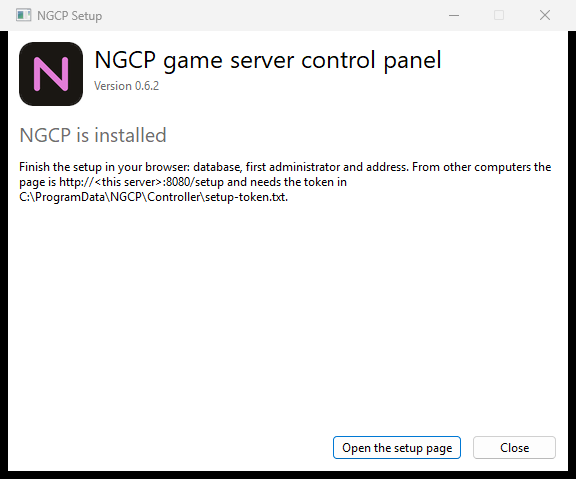
If you installed the panel, the setup page opens next: continue with the setup in your browser.
NGCP appears once in Apps / Programs and Features as NGCP; Repair and Uninstall
work on both parts. Uninstalling keeps the panel’s database and settings in
C:\ProgramData\NGCP.
Unattended
.\NGCP-Setup-X.Y.Z.exe /quiet                                  # panel + game servers
.\NGCP-Setup-X.Y.Z.exe /quiet InstallAgent=0                   # panel only
.\NGCP-Setup-X.Y.Z.exe /quiet InstallController=0 ControllerUrl=https://panel.example.com EnrollToken=ngcpe_... CaHash=sha256:...
Add /log setup.log for a log file (the enrollment token is never written to it).
With the controller MSI
- Run
ngcp-controller-X.Y.Z-x64.msias an administrator. SmartScreen warns because the MSI is not code-signed yet. - The installer:
- installs the program to
C:\Program Files\NGCP Controller; - keeps configuration in
C:\ProgramData\NGCP\Controller(readable only by SYSTEM and Administrators); - adds the Windows service NGCP Controller (
NGCPController); - opens TCP 8080 (web) and 8443 (agents) in Windows Firewall.
- installs the program to
- Leave Open the setup page (http://localhost:8080/setup) ticked on the last page and continue with the setup.
For a silent install:
msiexec /i ngcp-controller-X.Y.Z-x64.msi /qn
Finish the setup in a browser
Until the setup is done the controller serves only the setup page and its API.
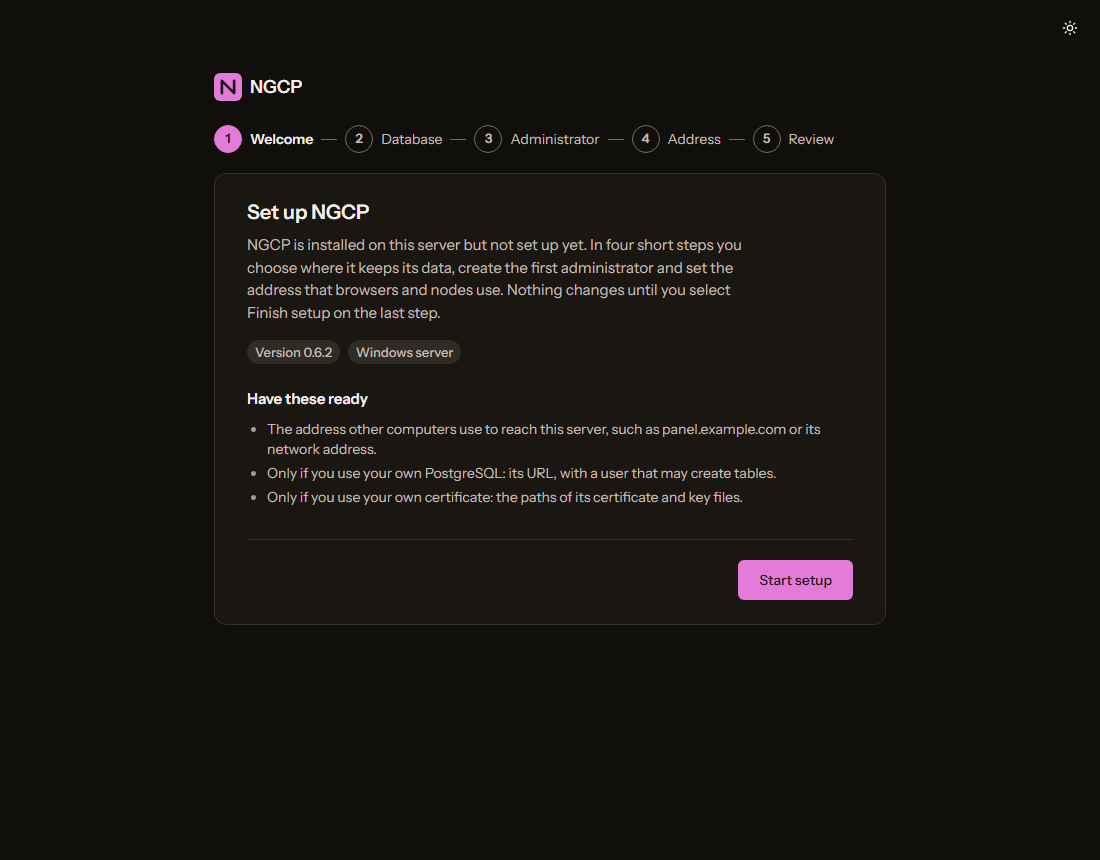
- Open
http://<server>:8080/setup.- On the server itself no token is needed.
- From another computer the page asks for the setup token. It is in
C:\ProgramData\NGCP\Controller\setup-token.txt.
- Database: Built-in or Existing.
- Built-in creates a PostgreSQL cluster in
C:\ProgramData\NGCP\Controller\postgres\data, listening on127.0.0.1only (first free port from 5433), run by the service NGCPPostgreSQL as NetworkService with a random password. - Existing: a URL such as
postgres://ngcp:[email protected]:5432/ngcp. The page tests the connection first.
- Built-in creates a PostgreSQL cluster in
- Administrator: user name, e-mail and password of the first SuperAdmin. Turn on two-factor sign-in right after the first sign-in.
- Address: the public URL browsers and nodes use, for example
https://panel.example.comorhttp://203.0.113.10:8080, and, if different, the agent address (host:8443). By default the agent address is the public URL’s host name with port 8443. Nodes must be able to resolve and reach both. - TLS: None (trusted network, or TLS ends at a reverse proxy), Certificate files or Self-signed (testing; browsers warn). See TLS and reverse proxies.
- Game servers on this server (shown only when the NGCP agent is installed on the same
computer, as with NGCP Setup’s default): leave This server runs game servers too ticked,
optionally with a node name (default: the computer name). The setup leaves a one-time join
file for the agent (
local-node.jsonin the configuration folder, valid for 24 hours); the agent joins within seconds, deletes it and appears under Nodes in the datacenter Default. - Finish. The controller writes its configuration and a new master key, creates the database schema, the SuperAdmin and a datacenter named Default, and switches to normal operation without a restart. Sign in at the public URL.
The setup token is deleted when the setup finishes, and the setup API answers 404 afterwards. If the setup fails halfway you can run it again; it keeps what it already created.
Files and folders
| What | Where |
|---|---|
| Program | C:\Program Files\NGCP Controller |
| Configuration, master key, self-signed certificate | C:\ProgramData\NGCP\Controller |
| Built-in database | C:\ProgramData\NGCP\Controller\postgres\data |
| Log | C:\ProgramData\NGCP\Controller\controller.log |
Settings are in controller.env in the configuration folder; see the controller.env
reference. Running, upgrading and removing the
panel on Windows: Windows notes.
Next: add a Windows node.